Kids love puzzles. If you’ve tried to find appropriate puzzles for your Bible class you know that they are hard to find and either expensive or very poorly made. Solution? Make your own. Any appropriate picture will be fine. I used the pictures from the Beginner’s Bible Cards which are no longer in print. Pictures from coloring books work well too. There are a lot of resources for pictures available online so I’m sure you’ll find some good ones.
After choosing the picture you would like to turn into a puzzle, scan it into your computer if you’re computer savvy. If not, you can do pretty much the same thing on a copier by reducing or enlarging the picture to the size you would like. Mine are approximately 5″x7″. I like to add a border to my pictures. This is easy to do on the computer. If you’re not using the computer, glue the picture to a sheet of colored paper. Make sure every inch of the picture is glued down.
The puzzles I made have 3 different levels of difficulty — 4 piece, 6 piece and 8 piece. Decide which level you would like to make. Draw faint pencil lines on the back of the puzzles to divide it into the number sections you want. Cut a small piece of magnet and place in each section you have created. I use business card magnets. This is the most important part. Stick small stickers (all the same kind) next to each magnet. If you don’t have stickers you can make a small mark with a marker or crayon. Choose a different sticker or different color crayon for each puzzle. Don’t skip this step. When 8 kids spread out their pieces all over the table, you will appreciate the fact that the ones that go together are marked with a sticker or crayon mark.
Laminate puzzle. Cut on pencil lines. Using an x-acto blade. cut around each magnet and peel off laminate from the top of the magnet. I know this is tedious but you know the old saying, “If it’s worth doing, it’s worth doing right.” This could be one of those jobs you pass on to someone in the congregation that does not want to teach but has offered to help get things ready. (Update: I was using a cold laminator when I originally wrote this post. Now I have access to a hot laminator. Things like adhesive magnets stick very well to this kind of lamination. Now I can laminate the picture, cut the pieces and then add the magnet. Do what works best for you.)
Store each puzzle in its own snack baggie and label appropriately. Store baggies in the cheap pencil boxes you can get during the back to school sales. Label the box.
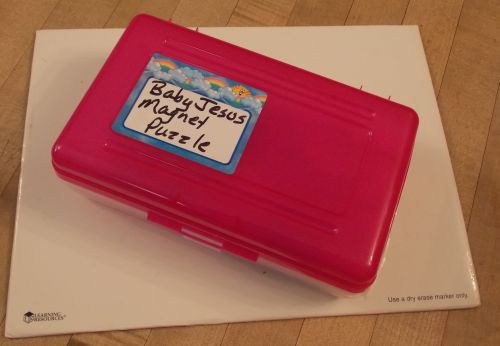
Pencil storage box labeled and a magnetic board.
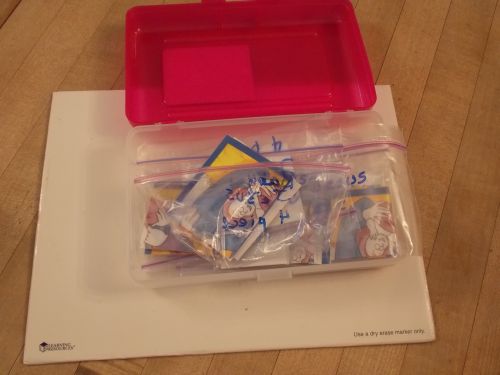
There should be enough room to store 8-10 puzzles in the box.
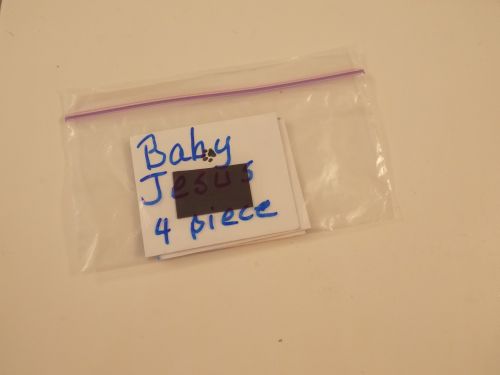
Each puzzle is stored in its own snack baggie that is labeled with the puzzle name and how many pieces it has.
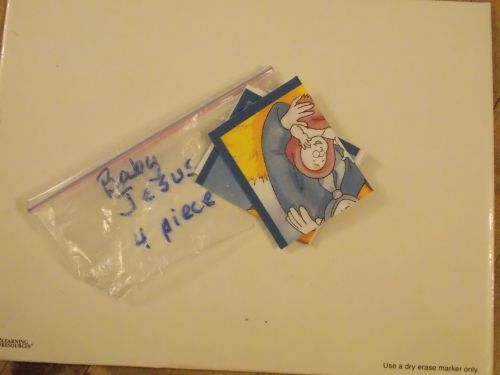
Snip a corner off of the snack baggie so air won’t get trapped inside. This will save lots of time when trying to put the baggies back in the box.
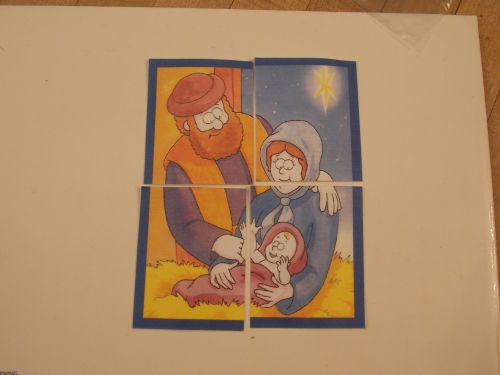
This is a four piece puzzle for the less experienced puzzlers in your class.
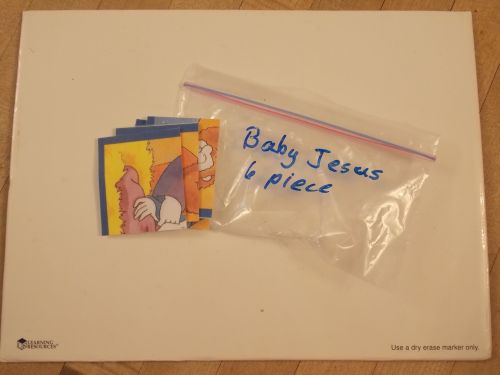
You can cut the puzzles in however many pieces you would like. I usually do 4, 6 and 8.
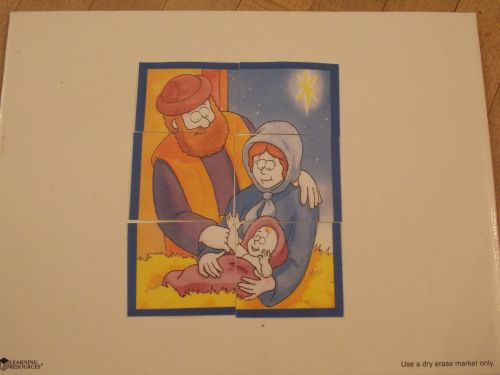
This is a 6 piece puzzle for the average joe in your class.
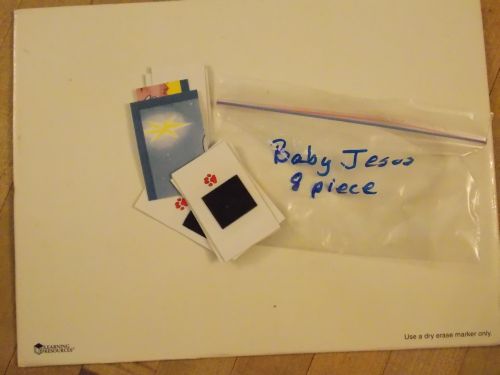
Notice that each baggie is labeled with the number of pieces. It will save time and aggravation in class.
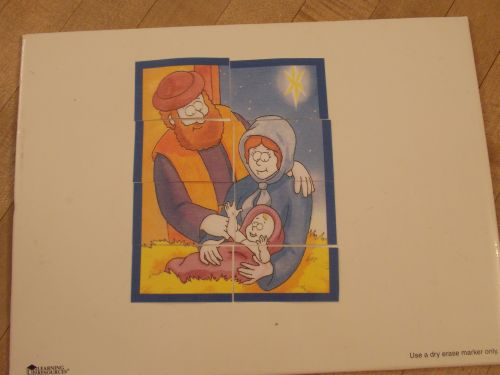
This is the 8 piece puzzle for the puzzle experts.
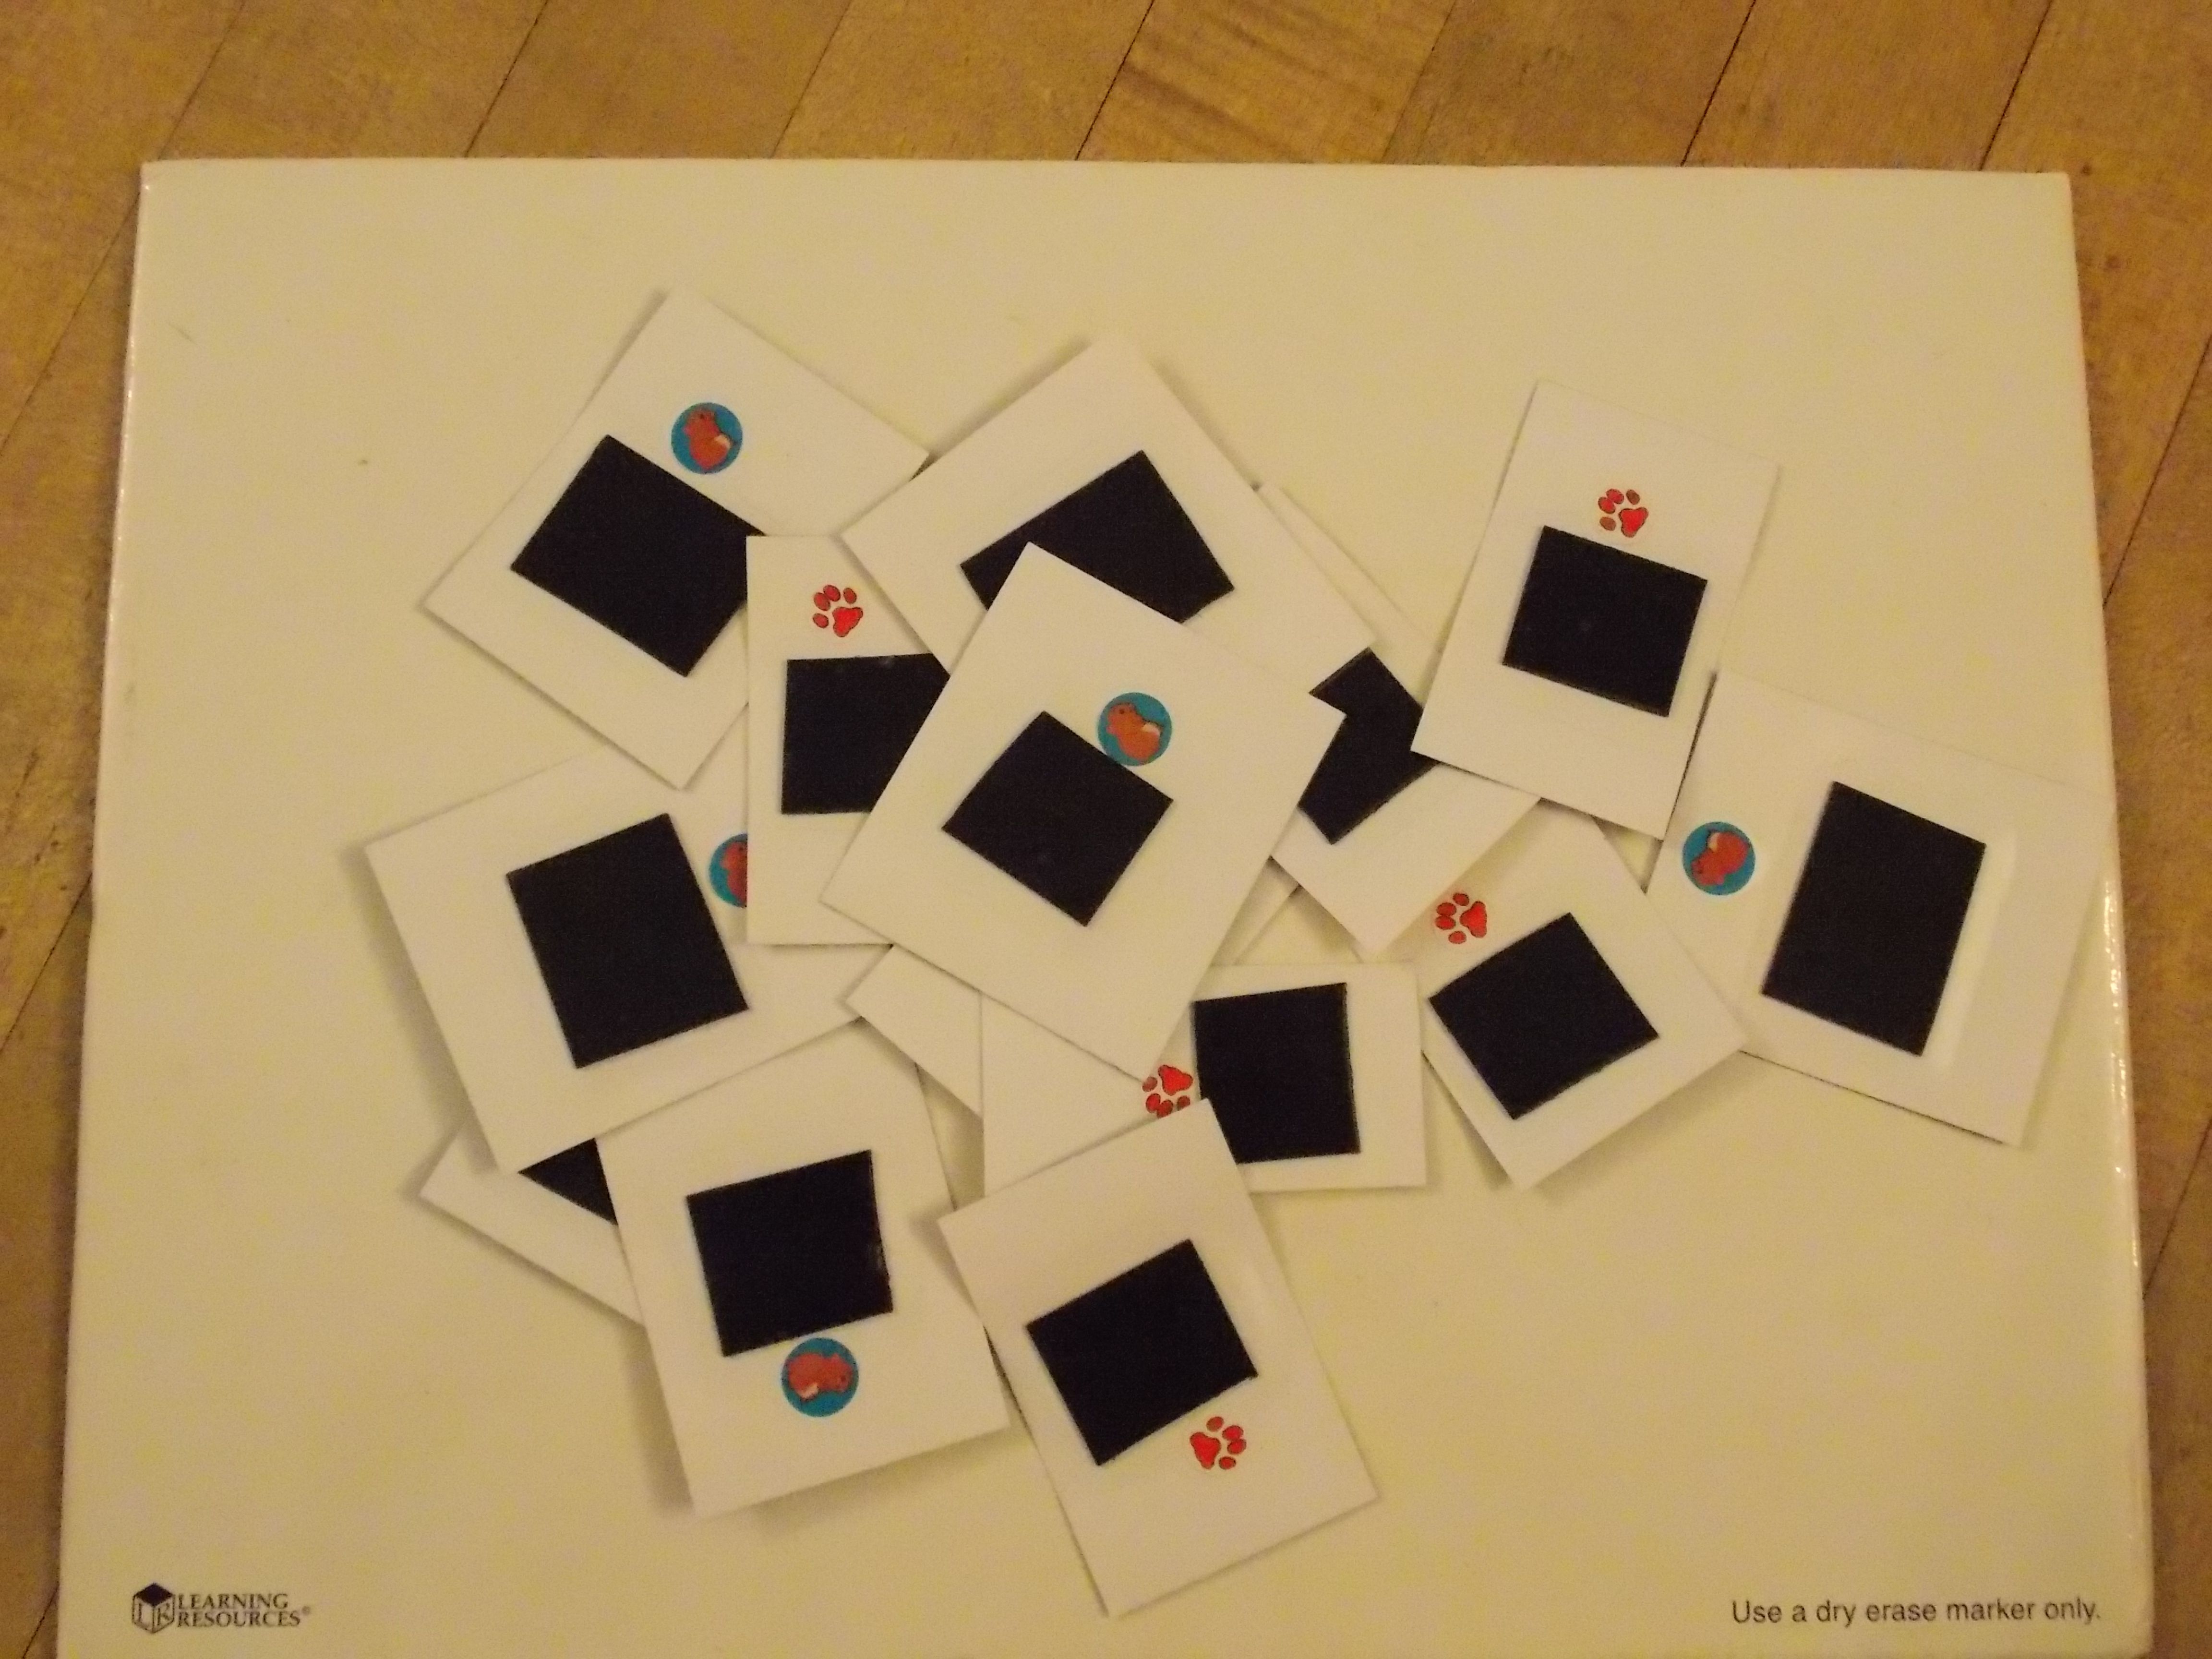
When all those puzzle pieces come out of the baggie in class, the kids aren’t going to be paying too much attention where each of their pieces end up. Many times, they are mixed up with each other. Add a sticker/star/mark of some sort that to each puzzle piece.
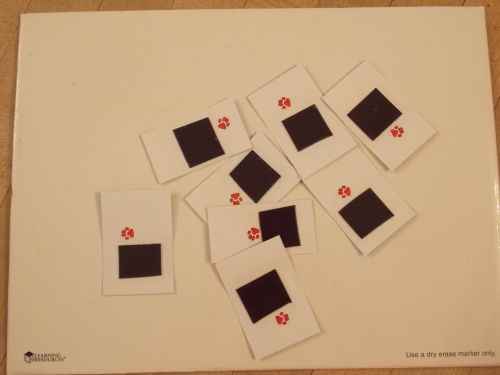
When the puzzles get mixed up, it’s easy to figure out which piece goes with which puzzle. I learned this the hard way.
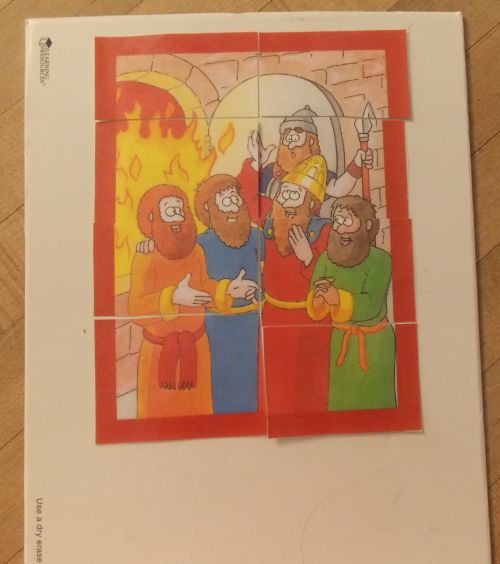
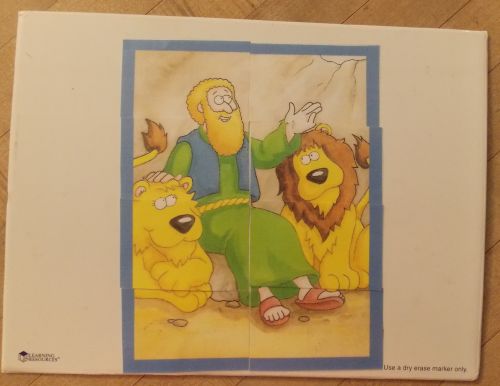
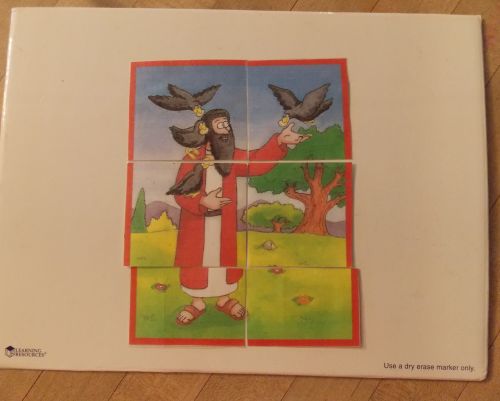
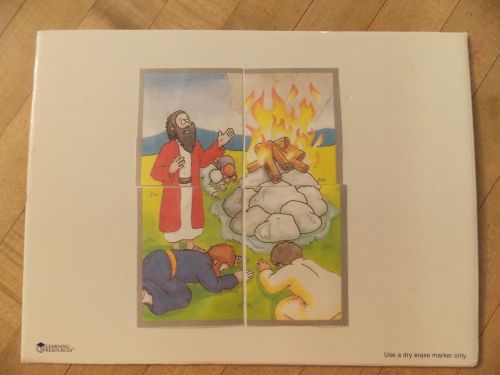
Here are a few more that I’ve used in class: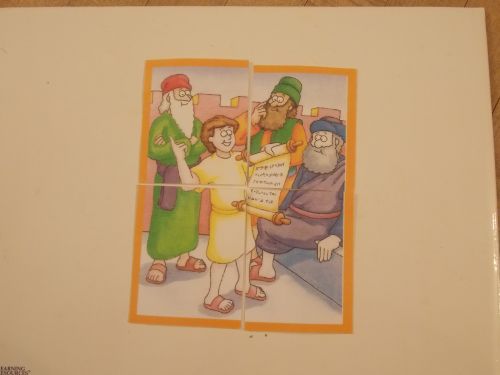

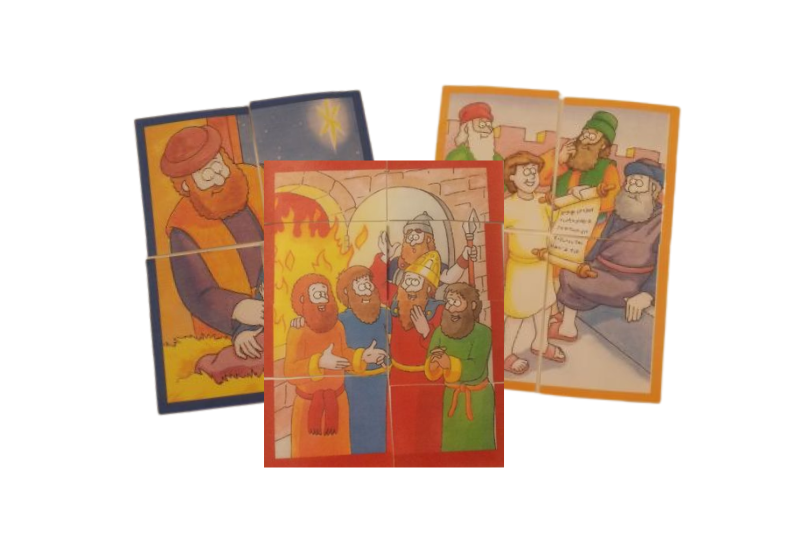



Where do the children “work” the puzzels? Why magnets? Cookie Sheets? White board?
Thanks for the good idea, especially about the stickers or stamps on the back!