This is a tutorial that should help putting together the Who Is Paul? page in the Paul Pop-Up book. It is a good introduction to who Paul was and what he did.
While the concept of sending and receiving mail in a mailbox is becoming lost to technology, hopefully the students still have some idea of what it’s all about. If not, maybe a letter from the Bible class teacher would be a good idea. If you have a scroll or even a good picture of a scroll to give the students an idea of what Paul’s letters looked like, this would be a good time to use it. The attendance chart for Paul would also help reinforce this idea and give a chance to discuss scrolls and Paul’s letter every time the class meets.
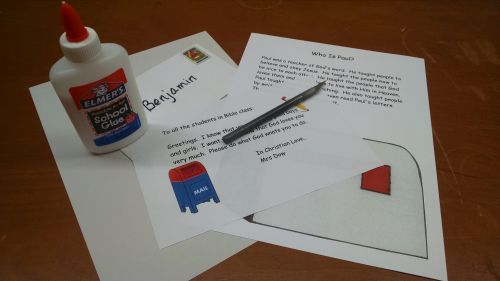
Supplies needed are the PDF for this page, 2 sheets card stock, 1 sheet regular copy paper, regular sized envelope, x-acto blade and glue. Copy the mail box page on card stock and the letter page on regular copy paper. Leave one sheet of card stock blank.
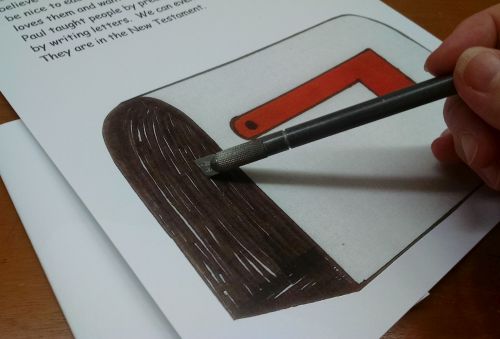
This first step is to cut a slit in the dark part of the mail box with the x-acto blade. Just one slit from top to bottom anywhere in the dark portion. This is where the envelope will slide into the box. Be sure to put something underneath the mail box so you don’t cut the table. You can get one of those fancy self healing pads or do what I do — fold a piece of card stock about 4 times and use it as a pad. It’s not self healing but it’s cheap and probably right at your finger tips.
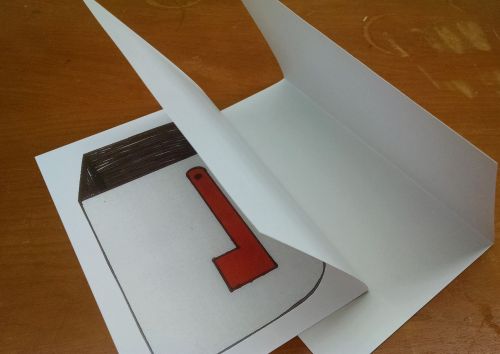
Fold both the blank sheet of card stock and the one printed with the mail box in half. You will be nesting the mail box inside the blank sheet.
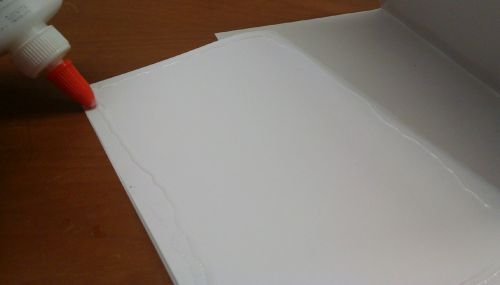
Lay a thin line of glue all around the top portion of the back of the printed sheet. Nest it inside the blank sheet and press down. After I had done this step, I realized it could have been done differently with less paper waste. To do it the alternate way, cut the blank card stock in half. There doesn’t need to be anything glued to the back of the top of the printed card stock. If you choose to do it anyway, it will add strength to the book but it is not necessary. Either way, continue to the next step.
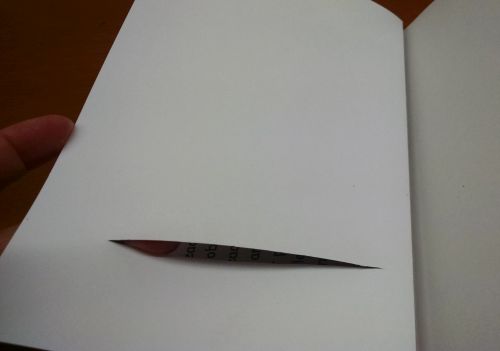
This is the only tricky part of this page. It’s time to glue the bottom half of the printed page to the bottom half of the blank card stock (or the half sheet if you used the alternate method described above). The placement of the glue determines where the envelope can go and can’t go.
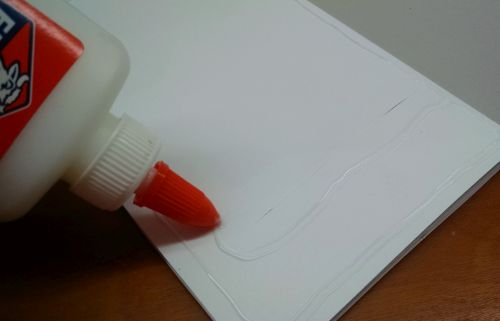
First lay a thin line of glue around all four edges of the back of the bottom half of the printed page. Then, place another thin line of glue about 1/2″ from the slit you cut with the x-acto blade. This line of glue must be on the outside of the slit. I know the glue is hard to see in the picture but hopefully you get the idea. If you glue on the other side of the slit, the envelope will not be able to enter the mail box. Press the glued side to the bottom half of the blank card stock (or the half sheet of card stock).
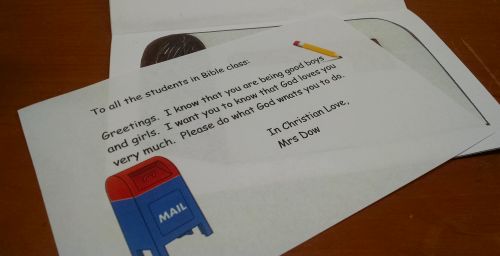
You can use the letter I wrote (changing your name of course) or write your own. I tried to write the basic things Paul taught in his letters: Be good, God loves you , obey God.
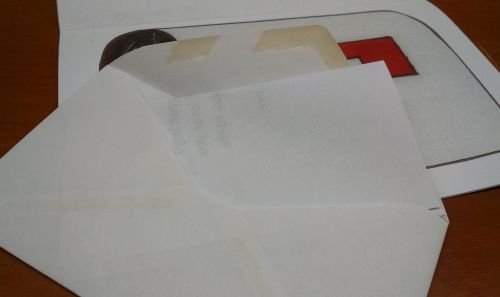
Put the letter in the envelope. Write the child’s name on the envelope and your name as the return address. Stamps are optional but I found some cute stickers that looked stamps that had pictures of Bible characters on them.
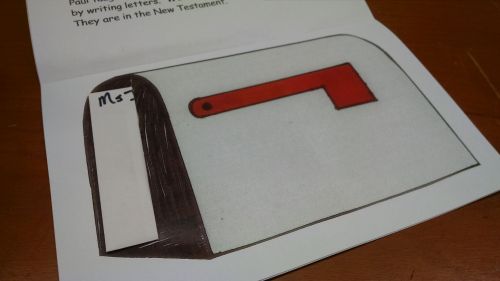
Slide the envelope in the mailbox.

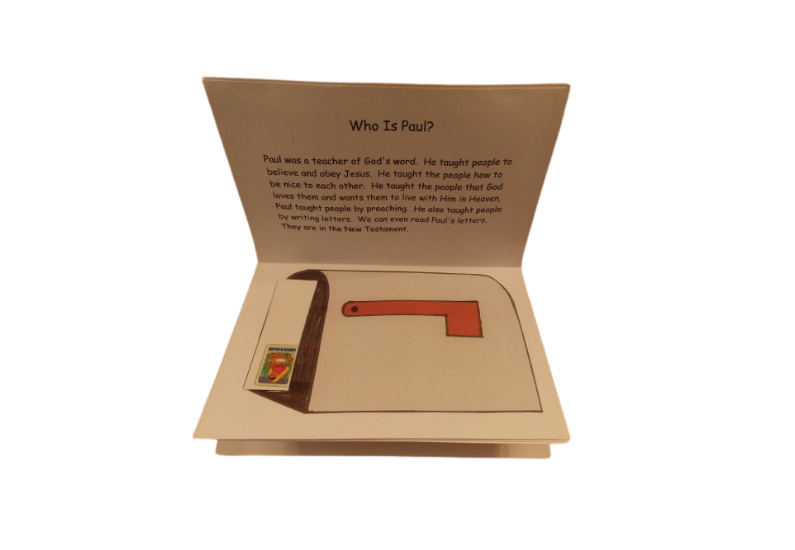





the pdf gives me the “Who is paul?” page but not the mailbox or letter