This pictorial tutorial explains how to put together the Saul Makes a Big Change page from the Paul Pop-up Book. 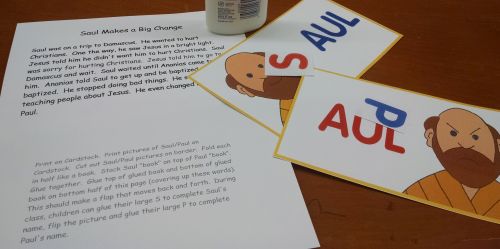
Supplies needed: PDF of Saul Makes A Big Change, card stock, glue, scissors. Print PDF on card stock. The page with the Ps and Ss just needs to be printed once for several children. Each child just needs one P and one S. Cut the pictures of Paul along border. A paper cutter works great for this. Fold the lesson sheet in half. Cut out the Ps and the Ss. The PDF instructions say to laminate the Ps and Ss. This isn’t really necessary. I just happened to have a cool laminator that would allow me to make stickers (one side laminated the other side glue). Now I don’t have that available so I just cut them out without laminating.
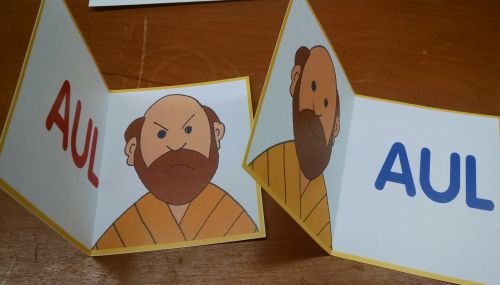
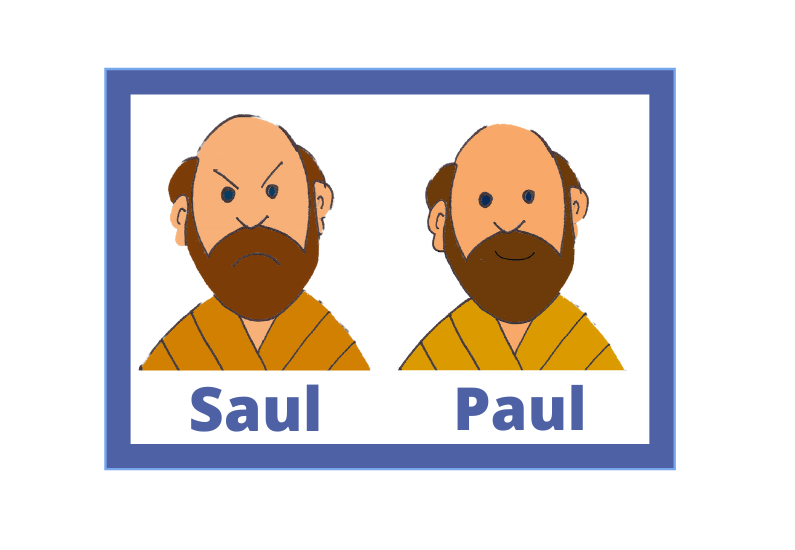
Fold both pictures of Paul in half.
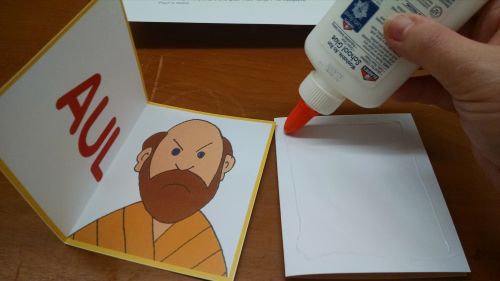
You will be stacking the folded pictures on top of each other to form a little book. The frowning Paul needs to be on top. Place a thin line of glue along the outside edges of the folded smiling Paul.
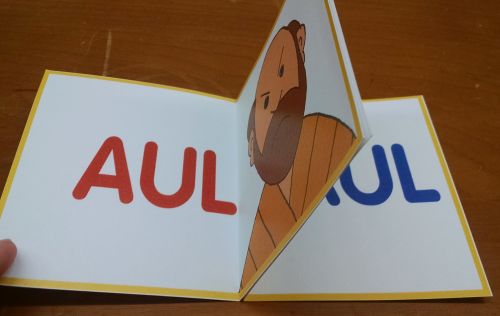
Stack the frowning Paul on top. You should now have a 2 page booklet with the first page being the frowning Paul and the second page being the smiling Paul.
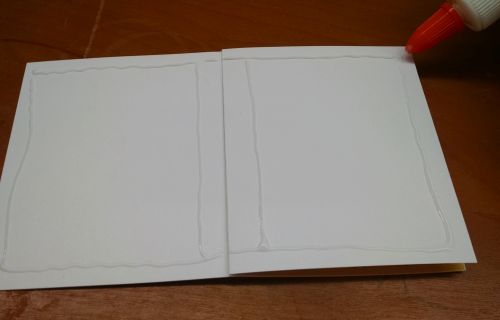
Flip the booklet over so the unprinted side of the booklet is showing. Place a thin line of glue along all four edges of both halves of the booklet.
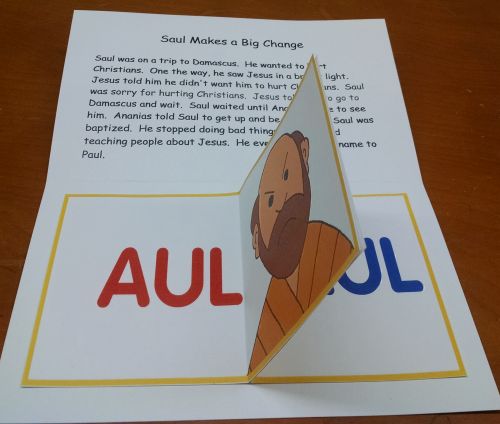
Place the glued side down on the bottom half of the folded sheet. The booklet will cover the PDF instructions.
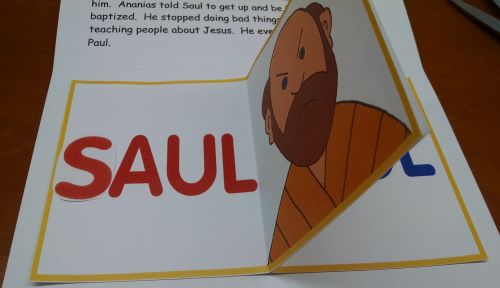
During class, after reading the story at the top, help the students glue the S and the P in the appropriate place.
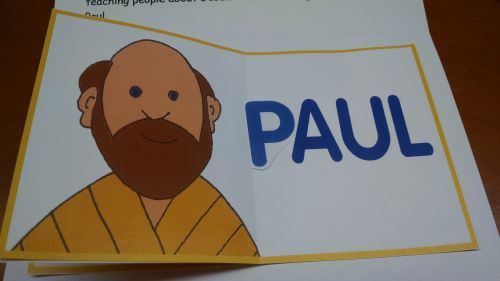
When the booklet is open to the Saul page, he has a frowning face because he was not obeying God. When the booklet is open to the Paul page, he has a smiling face because he has not only changed his name but changed his life by becoming a Christian and obeying God.





I am having trouble getting the page with the mailbox, the second page of the Philippian jailer, and the second page of the snake and campfire to print. Do you have any suggestions? Thanks!