While studying the Life of Christ with my elementary Bible class, we worked on project folders that gave them hands on activities to do that hopefully helped them with their memory work while being interesting at the same time. Click here, New Testament Project Folders, to see the other project folders in this series. First of all, I’ll show you the basic folder and then look closer at the individual components. I have added links to the PDF files of the activities in this project folder. Some of them have instructions, some don’t. There are a couple of mistakes here and there but if they were perfect, you’d know for sure they weren’t mine. The mistakes were one of the reasons I was stalling on uploading these files. You’ll just have to be creative, I guess. Be sure to look at Dinah Zike’s foldables for clearer instructions and visuals on how to put the activities together. I sent home a study sheet so the students could work on their memory work at home with their families. Print it back to back on regular copy paper.
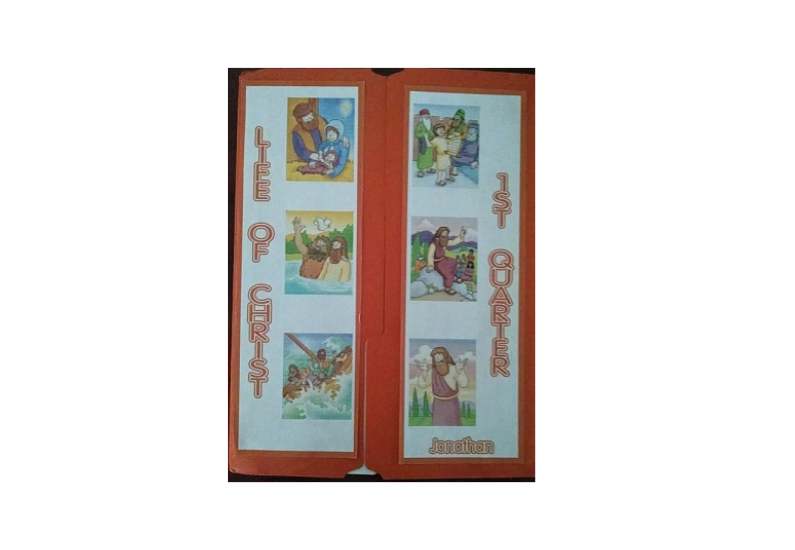
Front cover of project folder. This file also contains the back of the project folder, reward stickers and bookmarks with the weekly Bible reading.
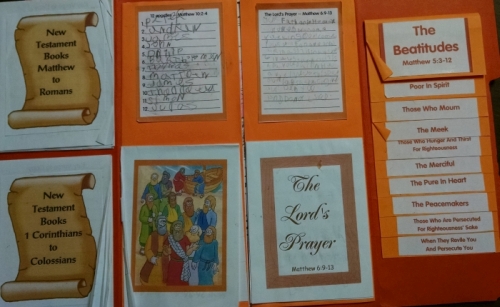
First Opening:
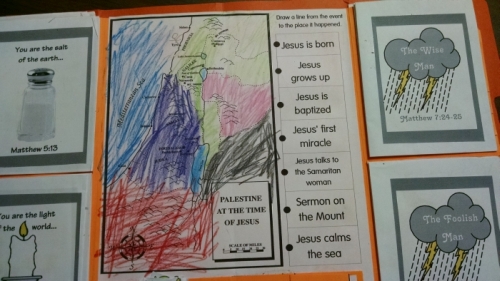
Second opening:
The back cover is a good place to keep track of what has been accomplished. The top half gives the student a place to put a sticker for every Bible reading they did during the quarter. My goal was for each child to read the entire New Testament (either alone or with the family) in a year.
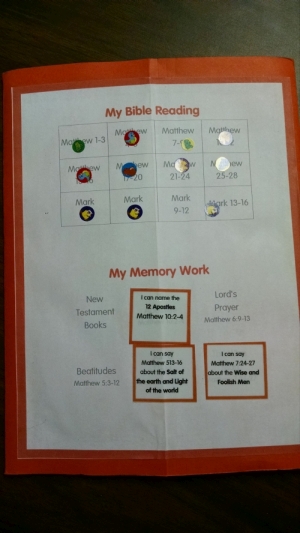
The bottom half gives them a place to put stickers showing the memory they completed.
First Opening of Project Folder — Now we can look closer at each component of the first opening of the project folder. We’ll start on the left and move towards the right.
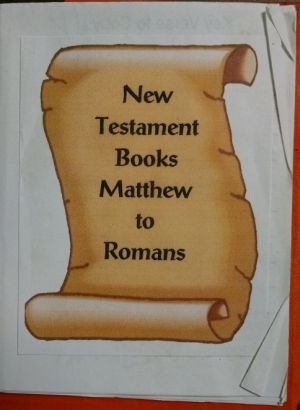
New Testament Books — This is a zipped file and will need to be opened after it is downloaded. In our class, the students were expected to memorize what happened in each book of the New Testament. These two booklets offered a hands on way to do that. The first one covers Matthew – Romans and the second one covers 1 Corinthians – Colossians. The rest of the New Testament books are memorized during the second quarter of our Life of Christ study.
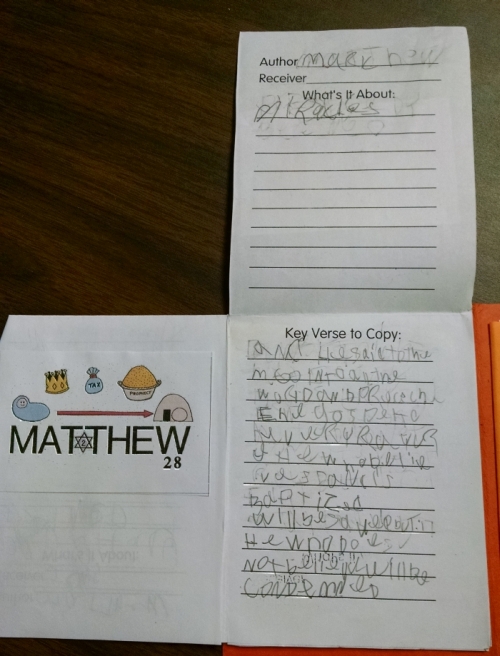
Open the booklet and there is a place for the student to glue a picture that will help him remember what is in that book. My husband drew these pictures. Each part of the picture reminds them of something in the book. For instance, Mark was written to the Romans so there is a Roman bust. Mark emphasizes the miracles of Jesus so there is a marigold to remind them of miracles.
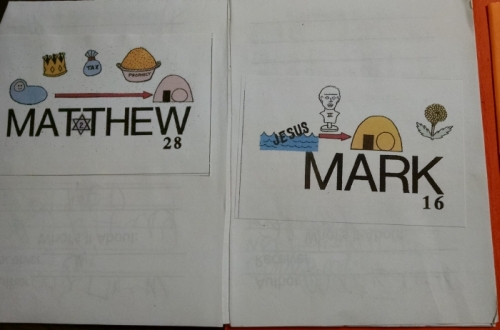
After gluing the picture in the appropriate place, the student lifts the flap and fills in the information inside — who wrote it, who it was written to, what it’s about and a key verse.
12 Apostles The next section (left side of folder) is devoted to the 12 Apostles. The top half gives the students a place to either copy the names of the apostles or even better, write them down from memory.
The bottom half gives the students an opportunity to open their Bibles and find out a fact about each apostle.
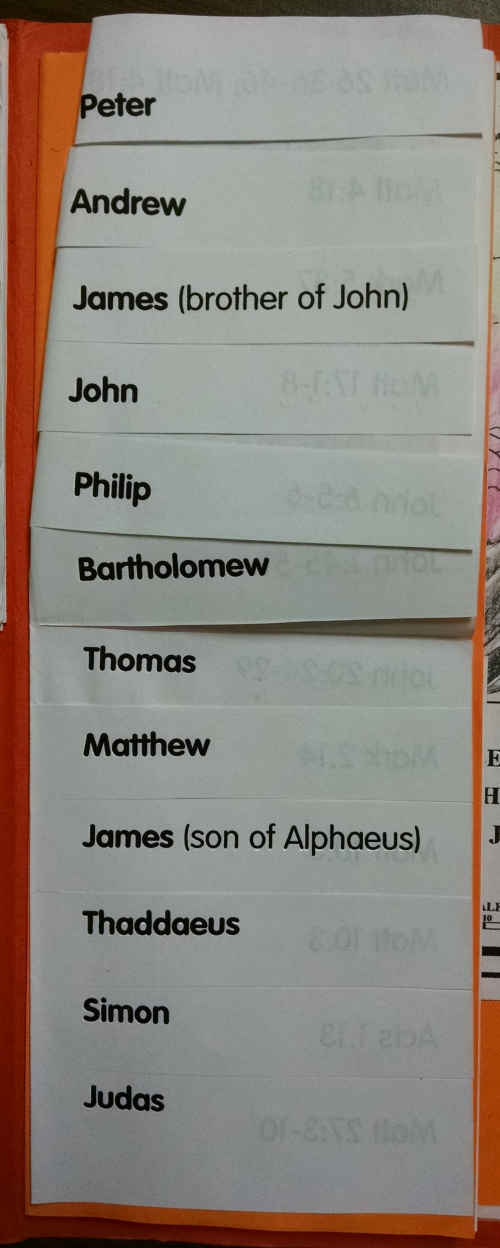
Open the booklet and the apostles names are listed. Lift the flap and find the passage listed. Find a fact about the apostle whose name is on the flap and write it down.
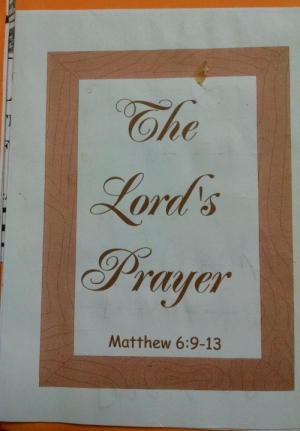
The Lord’s Prayer Just to the right of the 12 apostles is the Lord’s Prayer. Like the 12 apostles, the top half is a place to either copy or write down from memory the Lord’s prayer.
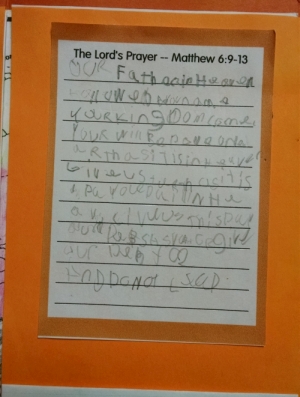
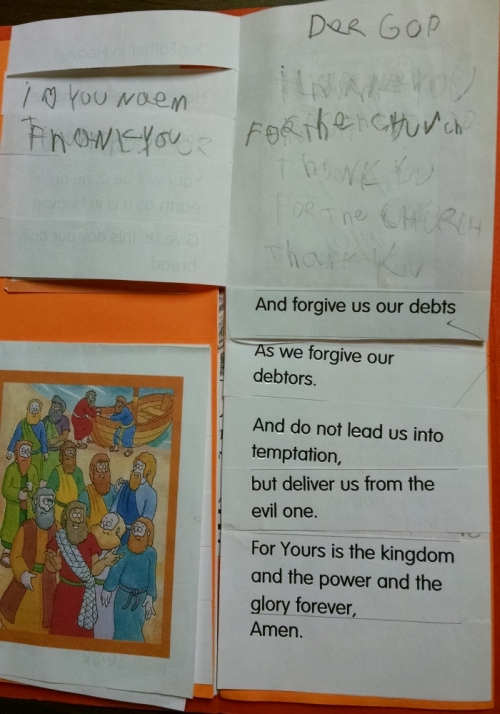
Underneath this is the activity for the Lord’s prayer. This activity gives the student helps the child write his own prayer by modeling the prayer Jesus used to teach His disciples how to pray.
Open the booklet and the Lord’s prayer is written on flaps.
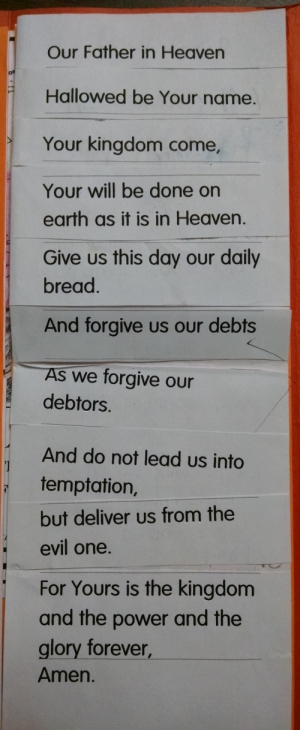
The student lifts each flap and puts that portion of the Lord’s prayer in his own words. When he is done, he can open all the flaps and see his prayer that he wrote based on Jesus’ prayer.
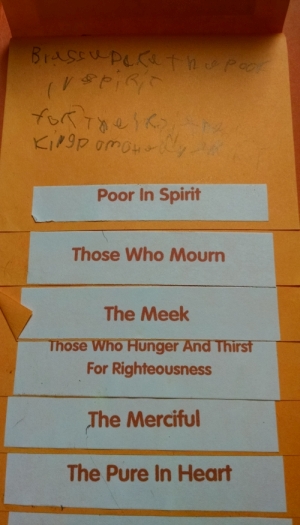
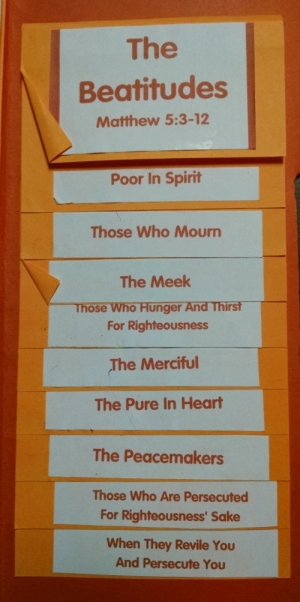
The Beatitudes The far right of this part of the project folder is devoted to The Beatitudes.
On each flap, key words are written that should help the student remember the order of the beatitudes. Lift the flap and the student will write the beatitude that goes with those key words.
Second Opening of Project Folder: Now we’ll look at the components for the second opening of the project folder. Like the first, we’ll start on the left and work towards the right.
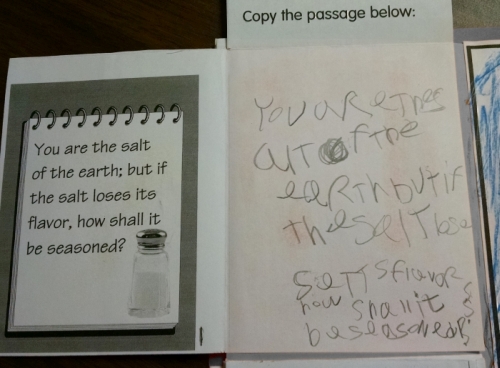
Salt and Light PDF The two booklets for learning the salt and light passages are the same. Click on PDF link above for further details. Additional Salt and Light Activities 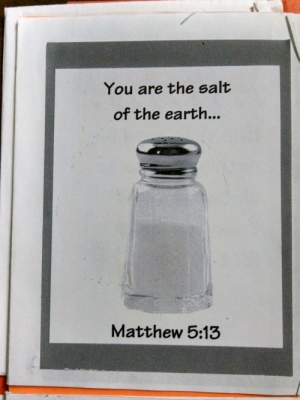
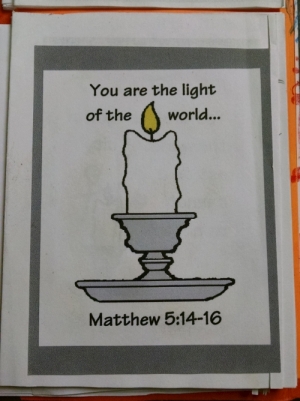
When the booklets are opened, there is a place to draw a picture about that part of the passage (there are more than one page).
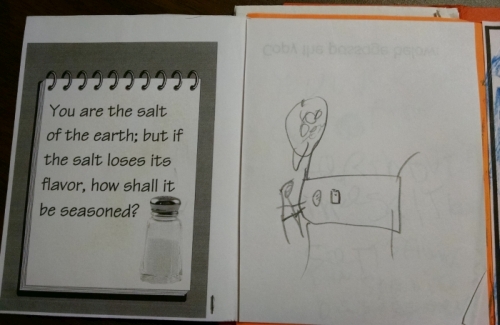
Lift the flap and the student is to copy the passage.
 Map
Map ![]() The center section has the map of the Bible lands during the time of Christ. The student colors the map and is supposed to draw a line from the event on the right to the location it happened. Apparently this student wasn’t paying attention to directions.
The center section has the map of the Bible lands during the time of Christ. The student colors the map and is supposed to draw a line from the event on the right to the location it happened. Apparently this student wasn’t paying attention to directions.
Timeline Underneath the map is the timeline. The pictures from this timeline came from a poster I bought at a teacher’s supply store. This timeline covers the first part of Christ’s life. The rest is covered in the next project folder.
Open the timeline and the student glues the timeline pictures in order.

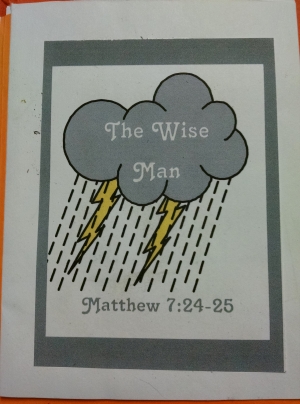
The Wise and Foolish Man On the far right of the second opening are activities for The Wise and Foolish Man. These are similar to the Salt and Light booklets.
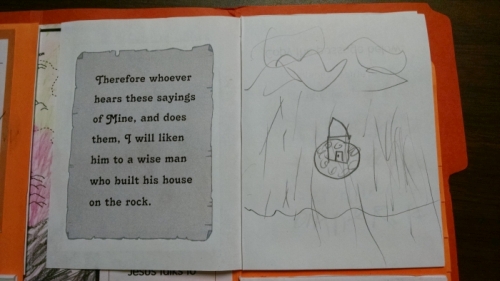
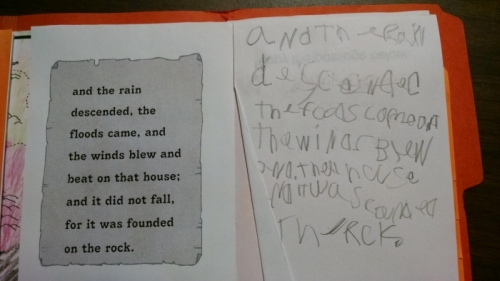
Open the book and draw a picture of the part of the passage that is shown on the left. 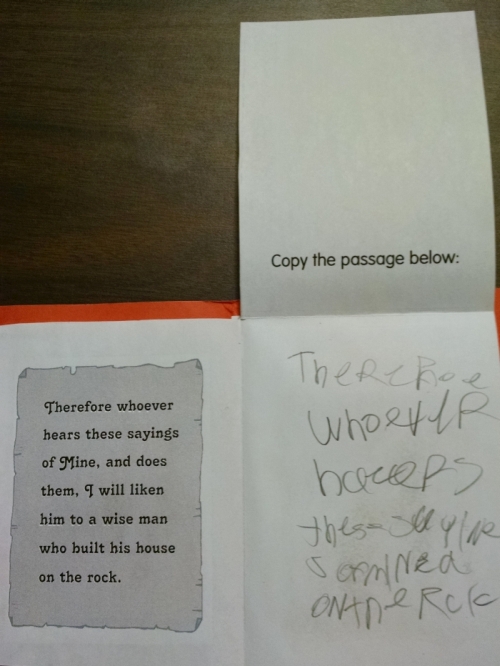
Lift the flap and copy the passage.
That’s it!!




Great lessons and books! Perfect for us to use this new year coming!!
Thanks for work on this lesson. It’s wonderful! Could you share the key verses for each book of the New Testament?
Diana, Thank you so much for all your hard work. This will be wonderful for Children’s Church. I was wondering in the study guide it has 2010, is there anyway to update that to 2014?
A little white out or a small piece of paper taped over the date will keep it from copying. You could then write the current year in its place.
I was linking this in Debbie’s FB page and hit a spam filter. EEKS! hope this was just on my end and not your site.
I don’t know what would cause that. I’ll try to share it and see what happens.
I just shared it on my wall and didn’t have any problems. Let me know if you have any other problems. Thanks for alerting me.
Helps to go back and actually look at the things I’ve pinned. Lol
:)
Ha! I can’t believe I just found this. This is almost exactly what I need…funny I just talked to you about it last night.
I hope you can use something here. At least, get a little inspiration to design it to your needs. It was good to see you the other night.
oh thank you for all the links. This is perfect for one of our other teachers right now! :)
Amazing work! and all in one spot :) Love it!
Thank you. I’m happy to share it.
Thank you so much for your interest in these activities. I have added the pdf files for the activities above. I hope all the links work. Please let me know if they don’t.
I’m.trying to click links and.am.not.getting any thing to open :/ should they still.be available?
I’m not sure why they aren’t working for you. They are PDFs and are probably automatically downloading. Check your download folder.
Hello, Can I please have the master copies to print . I would love to do these activities with my Bible study classes.I really love them.
I too would like the masters, Diana. This is a great project and would be perfect to supplement the new curriculum we’re doing in the fall.
These look great! I would love to be able to print off the masters that you used, but until then I am going to try and create my own. These are a great way to carry over learning from week to week and also a great review tool. Thanks for such a great idea!
This is a fantastic idea. I am really interested in putting these folders together. Do you know when the masters will be available? I’m going to be teaching again in the fall and this would be a great addition to my class of 6th graders.